 How-to
7 Simple Garden Planning Steps for Beginners
Last Updated: November 19, 2026
Quick Summary
Simple garden planning for beginners starts with one slow walk around your yard to check sun, water, and wind before buying anything. Then look up your hardiness zone and frost dates, test soil drainage, and sketch your beds with correct spacing. A two-week starter calendar keeps each step in order.
- Most vegetables want six or more hours of direct sun, so save shadier spots for lettuce and spinach.
- Start seeds indoors six to eight weeks before your last frost date and harden off seedlings a week before transplanting.
- Spread 5 to 8 cm of compost over beds and dig it into the top 15 cm.
- Make raised beds about 120 cm wide so you can reach the middle from either side.
- Sow a short row of lettuce every two weeks for harvests over months instead of one big pile.
Table of Contents
- Start With a Simple Garden Planning Walk-Around
- Check Sun Exposure and Frost Dates for Your Hardiness Zone
- Fix Soil Drainage and Add Compost Before Planting
- Use a Garden Layout Planner Free of Charge to Sketch Your Beds
- Make a Garden Layout Drawing With Spacing Requirements
- Build a Vegetable Garden Layout for Beginners in Raised Beds
- Simple Garden Planning for Beginners Free: A Two-Week Starter Calendar
- Pick Your Planner and Start Your First Bed
- Frequently Asked Questions
Start With a Simple Garden Planning Walk-Around
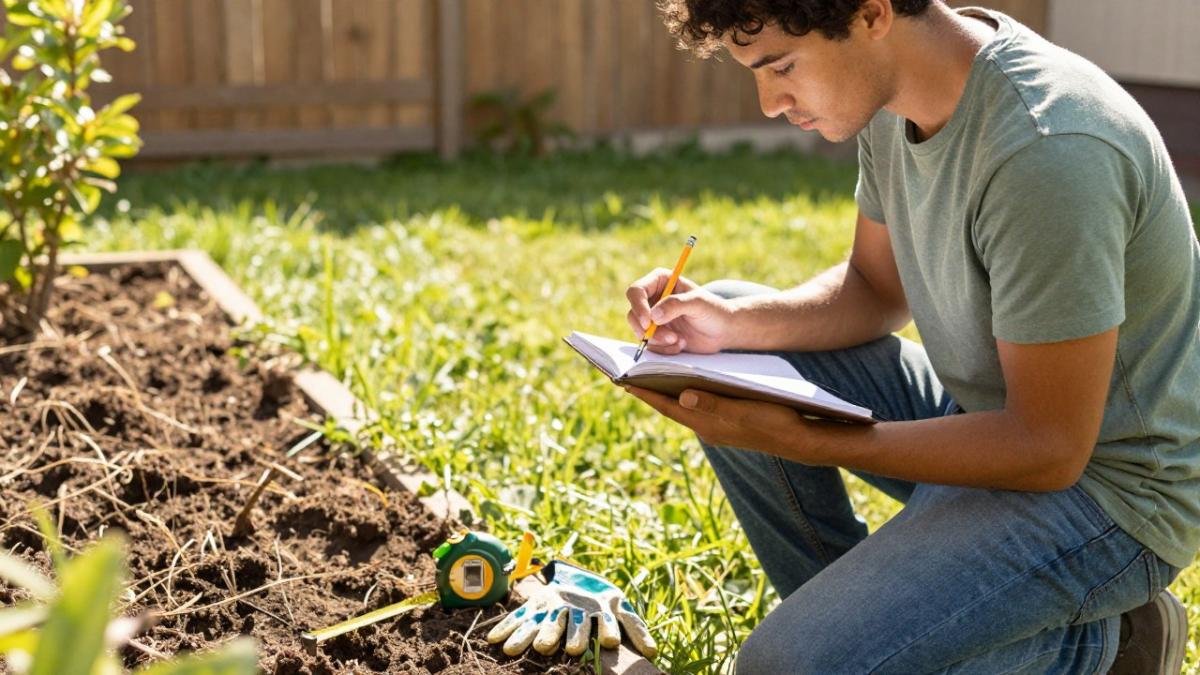
Simple garden planning for beginners starts with one slow walk around your yard before you buy anything. Stand where you want your beds to go. Watch the light, feel the wind, and check where water pools. That single walk tells you more than any book.
Look first, plan second, plant last. It saves money and heartbreak.
Here is what to check on your walk:
- Where does the sun hit at 9 a.m. and again at 3 p.m.?
- Which spots stay soggy after rain?
- Where does wind hit hardest?
- How close is your nearest water tap?
Write it all down. A cheap notebook works fine.
Map Sun, Water, and Wind Before You Buy a Single Seed
Sun, water, and wind decide what will grow where. Most vegetables want six or more hours of direct sun. If a spot gets less, save it for leafy greens like lettuce and spinach.
Wind dries soil and snaps tall plants. A fence, hedge, or row of taller crops can block it. Water matters too. A bed far from a tap means hauling cans all summer.
Sketch three zones on your notebook page:
- Full sun: six-plus hours, best for tomatoes and peppers
- Part sun: three to six hours, good for greens and herbs
- Shade: under three hours, try hostas or ferns
That rough sketch is the start of your garden layout drawing.
Check Sun Exposure and Frost Dates for Your Hardiness Zone
Your hardiness zone and frost dates set the calendar for everything else. The USDA Plant Hardiness Zone Map shows the coldest expected temperature in your area, and it is the first thing to look up. Your local extension office can confirm your last spring frost and first fall frost dates.
Why does this matter? Frost dates decide when to seed and when to transplant. Plant too early and a late frost kills your seedlings.
A common mistake is guessing the dates from memory. Look them up instead. Write both dates at the top of your planner.
Then count backward from your last frost date:
- Start seeds indoors six to eight weeks before the last frost
- Harden off seedlings a week before transplanting
- Set out tender crops only after the frost date passes
The USDA Plant Hardiness Zone Map lets you search by ZIP code. Your zone number goes on the first page of your plan.
Fix Soil Drainage and Add Compost Before Planting
Soil drainage decides whether roots breathe or drown, and it is the one thing beginners most often skip because it happens underground. Before you buy a single bag of compost, run two cheap tests that tell you what your soil actually needs.
The percolation test. Dig a hole about 30 cm deep and 30 cm wide. Fill it with water and let it drain completely, then fill it again and time how long the second fill takes to disappear. Most garden vegetables want that second fill to drain within 2 to 4 hours.
The jar test. Fill a clear jar one-third full with garden soil, top it up with water, add a pinch of dish soap, and shake hard for a minute. Let it sit for 24 hours. The layers that settle tell you your texture: sand drops first, then silt, then clay on top.
Compost is the fix for most soil problems, but the amount matters. Spread 5 to 8 cm over the bed and dig it into the top 15 cm. That is roughly one to two wheelbarrows per square meter.
Test your soil pH too. A simple home test kit costs little and tells you if your soil is too acid or too alkaline for what you want to grow. Most vegetables prefer a pH between 6.0 and 7.0.
Watch out: do not till wet soil. It smears into hard clods that stay compacted all season. Squeeze a handful first. If it holds together like putty, wait a few days.
Mulching after planting keeps moisture in and weeds down. Two to three centimeters of straw or shredded leaves is enough; deeper mulch can smother shallow-rooted crops.
Use a Garden Layout Planner Free of Charge to Sketch Your Beds
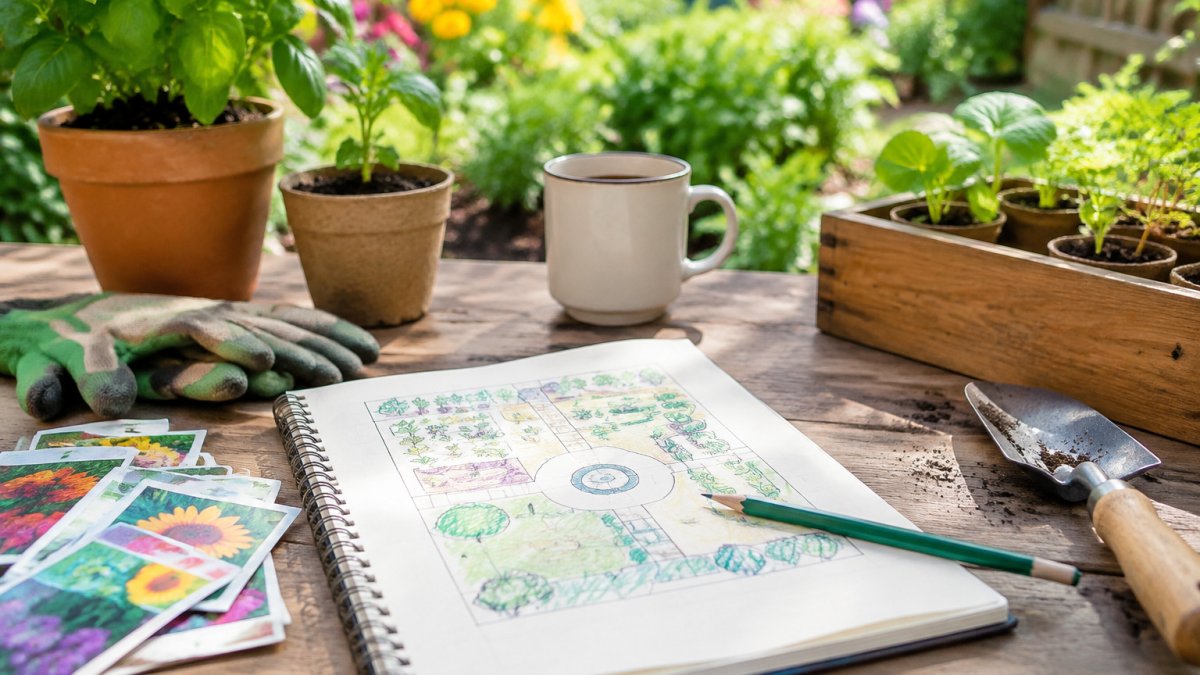
A free garden layout planner does not need to be fancy. Paper, pencil, and a ruler will do. The goal is a garden layout drawing you can actually follow in spring.
Measure your space first. Note the width and length of each bed and the paths between them. Then draw to scale, one square equals 30 cm works well.
Mark these on your plan:
- Bed edges and path widths
- Where tall crops will go so they do not shade short ones
- Water access points
- Compost bin and tool storage spots
If you want a printable version, Elisa Allender's garden planner works in both print and digital formats, so you can start mid-year without wasting pages.
Digital vs. Analog Planning Tools: Which Fits Your Week?
Digital tools suit people who plan on a phone or tablet. They send reminders, resize beds with a tap, and keep notes searchable. Analog suits people who like a book open on the kitchen counter.
Ask yourself two questions. Do you check your phone more than a notebook? Do you plan at night in bed or at the kitchen table?
Many gardeners use both: a paper sketch for the big picture and a digital calendar for frost dates and tasks. Pick what you will actually open in July, not what looks best in March.
Make a Garden Layout Drawing With Spacing Requirements
Spacing requirements are the numbers most beginners skip, and they matter. Crowded plants compete for light and air, and poor airflow invites disease.
Read the seed packet. It lists spacing for that exact crop. Then draw circles or squares on your plan at that spacing.
| Crop | Spacing Between Plants | Spacing Between Rows |
|---|---|---|
| Tomatoes | 45-60 cm | 90 cm |
| Lettuce | 20-30 cm | 30 cm |
| Carrots | 5-8 cm | 30 cm |
| Peppers | 45 cm | 60 cm |
| Bush beans | 10-15 cm | 45 cm |
Spacing Between Plants
Companion planting is worth a look too. Basil near tomatoes and marigolds along bed edges are classic pairings that many gardeners swear by.
Leave room to walk. A path of 45 cm keeps you from stepping on beds, which compacts soil.
Build a Vegetable Garden Layout for Beginners in Raised Beds
A vegetable garden layout for beginners gets easier in raised beds. You control the soil, drainage improves, and the beds warm faster in spring. Beds about 120 cm wide let you reach the middle from either side without stepping in, and any length works as long as you can walk around the ends.
Fill beds with a mix of topsoil and compost. Set them where your walk-around showed full sun, and leave 45 cm paths so you never step into the bed and compact the soil you just built.
Raised beds vs. in-ground beds comes down to your soil and your back. Bad native soil or poor drainage? Go raised. Good soil and a tight budget? Plant in ground and add compost. Raised beds cost more up front but solve drainage and save your knees; in-ground beds cost less but demand you fix the soil you have.
Crop rotation belongs in your plan from year one. Move tomatoes and peppers to a new bed each season. It keeps soil pests from building up. A simple three-bed rotation, heavy feeders, light feeders, legumes, is enough for a beginner.
Budget-Friendly DIY Infrastructure and Succession Planting for Small Spaces
You do not need to spend much to start, and the cheapest setups often work best because they are easy to change. These low-cost basics cover most beginner setups:
- Cardboard and wood chips to smother grass instead of stripping sod. Lay overlapping cardboard, wet it, and cover with 5 to 8 cm of wood chips. It breaks down in a season and feeds the soil.
- Bamboo stakes and twine for simple supports. A tripod of three stakes tied at the top holds pole beans and cucumbers for a fraction of the cost of a trellis kit.
- Milk jugs cut open as cloches for frost protection. Remove the cap for ventilation on sunny days or you will cook the seedlings.
- A rain barrel under a downspout for free water. One 200-liter barrel fills fast from a modest roof and cuts your hauling in half.
- Newspaper or straw mulch to hold moisture and suppress weeds without buying bagged mulch.
Succession planting stretches a small space, and it is the single most under-used beginner technique. Instead of sowing all your lettuce in April, sow a short row every two weeks from early spring through late summer. You harvest fresh greens for months instead of one big pile in June. The same stagger works for radishes, spinach, and bush beans. Write the sow dates on your calendar as repeating two-week reminders, and stop sowing heat-sensitive crops once daytime temperatures consistently pass their comfort range.
Vertical gardening helps too. Grow pole beans and cucumbers up trellises to free up ground space. Container gardening works for herbs and cherry tomatoes on a patio, and it lets you move plants to follow the sun.
For pest management, start with the basics: strong plants, clean beds, and a daily look at leaf undersides. Most beginner pest problems trace back to crowded plants and wet foliage, both of which your spacing and watering plan already address.
Simple Garden Planning for Beginners Free: A Two-Week Starter Calendar
Simple garden planning for beginners free of charge fits into two weeks. Here is a schedule you can follow:
Week 1
- Day 1: Walk the yard and map sun, water, and wind
- Day 2: Look up your hardiness zone and frost dates
- Day 3: Test soil drainage and pH
- Day 4: Add compost to chosen beds
- Day 5: Measure beds and sketch your layout drawing
- Day 6: Choose crops for your zone and space
- Day 7: Order seeds and check spacing on each packet
Week 2
- Day 8: Finalize spacing on the plan
- Day 9: Build or set up raised beds
- Day 10: Set up water access and a rain barrel
- Day 11: Plan crop rotation for next year
- Day 12: Buy or print your planner
- Day 13: Write your succession planting dates
- Day 14: Start your first seeds indoors
The Old Farmer's Almanac frost date calculator can confirm your local dates in minutes.
Pick Your Planner and Start Your First Bed
The best plan is the one you keep using past week three. A structured planner for planting and harvests gives you one place for frost dates, spacing notes, and what worked last year. Even a small garden benefits, because you stop guessing and start comparing seasons.
At Elisa Allender, the Season to Season Garden Planner is undated and 282 pages, so you can start in any month. It comes in Goodnotes, typeable, and printable versions, which means it fits however you like to plan. You get a place to track planting, harvests, and seasonal tasks without starting over each January.
Your first bed does not need to be perfect. Pick one sunny spot, add compost, plant three things you actually eat, and write down what happens.
Ready to stop guessing and start growing? Get started with Elisa Allender and turn your walk-around notes into a garden you can track season after season. Browse the shop to find the planner format that fits your week, whether that is a printed book on the counter or a digital file on your tablet.
Frequently Asked Questions
What is a good basic garden layout for a beginner?
A simple rectangle or L-shape works best for a first garden. Put tall crops like tomatoes and trellised beans on the north side so they do not shade shorter plants, keep paths about 60 cm wide, and group crops by how often you water them. Sketch beds at 1.2 m wide so you can reach the middle from either side. Leave one bed empty for succession planting later in the season.
How much space does a beginner vegetable garden need?
A single 1.2 m by 2.4 m raised bed is enough to grow salad greens, herbs, a few tomato plants, and bush beans. If you want more variety, two beds of that size give you room for crop rotation. Start smaller than you think you need: a bed you can water in ten minutes gets tended, while a large plot that needs an hour often gets abandoned by midsummer.
How do you draw a simple garden layout?
Measure your space with a tape measure, then draw it to scale on graph paper, letting one square equal 30 cm. Mark north with an arrow, shade in the sunniest six hours, and note where the hose reaches. Add beds, paths, and a compost spot, then pencil in crops using the spacing on the seed packet. A garden layout drawing takes about twenty minutes and saves hours of transplanting mistakes.
Can I start simple garden planning for beginners free of charge?
Yes. Graph paper, a pencil, and your local extension office's frost date chart cover the basics at no cost. Free garden layout planner apps and printable grid sheets let you try a layout before committing. A structured planner becomes worth paying for when you want to track harvests, succession sowing, and seasonal tasks in one place, especially if you garden in a small space and need to scale the plan down.